
Today, Creative Team Member, Miki, is sharing The Power of Color Adjustments in Adobe Photoshop.
The Power of Color Adjustments
I’ve often joked that there are more cows than people in the small agricultural community that I live in.
And with that many cows, most of the farmed fields are filled with corn to feed the them.
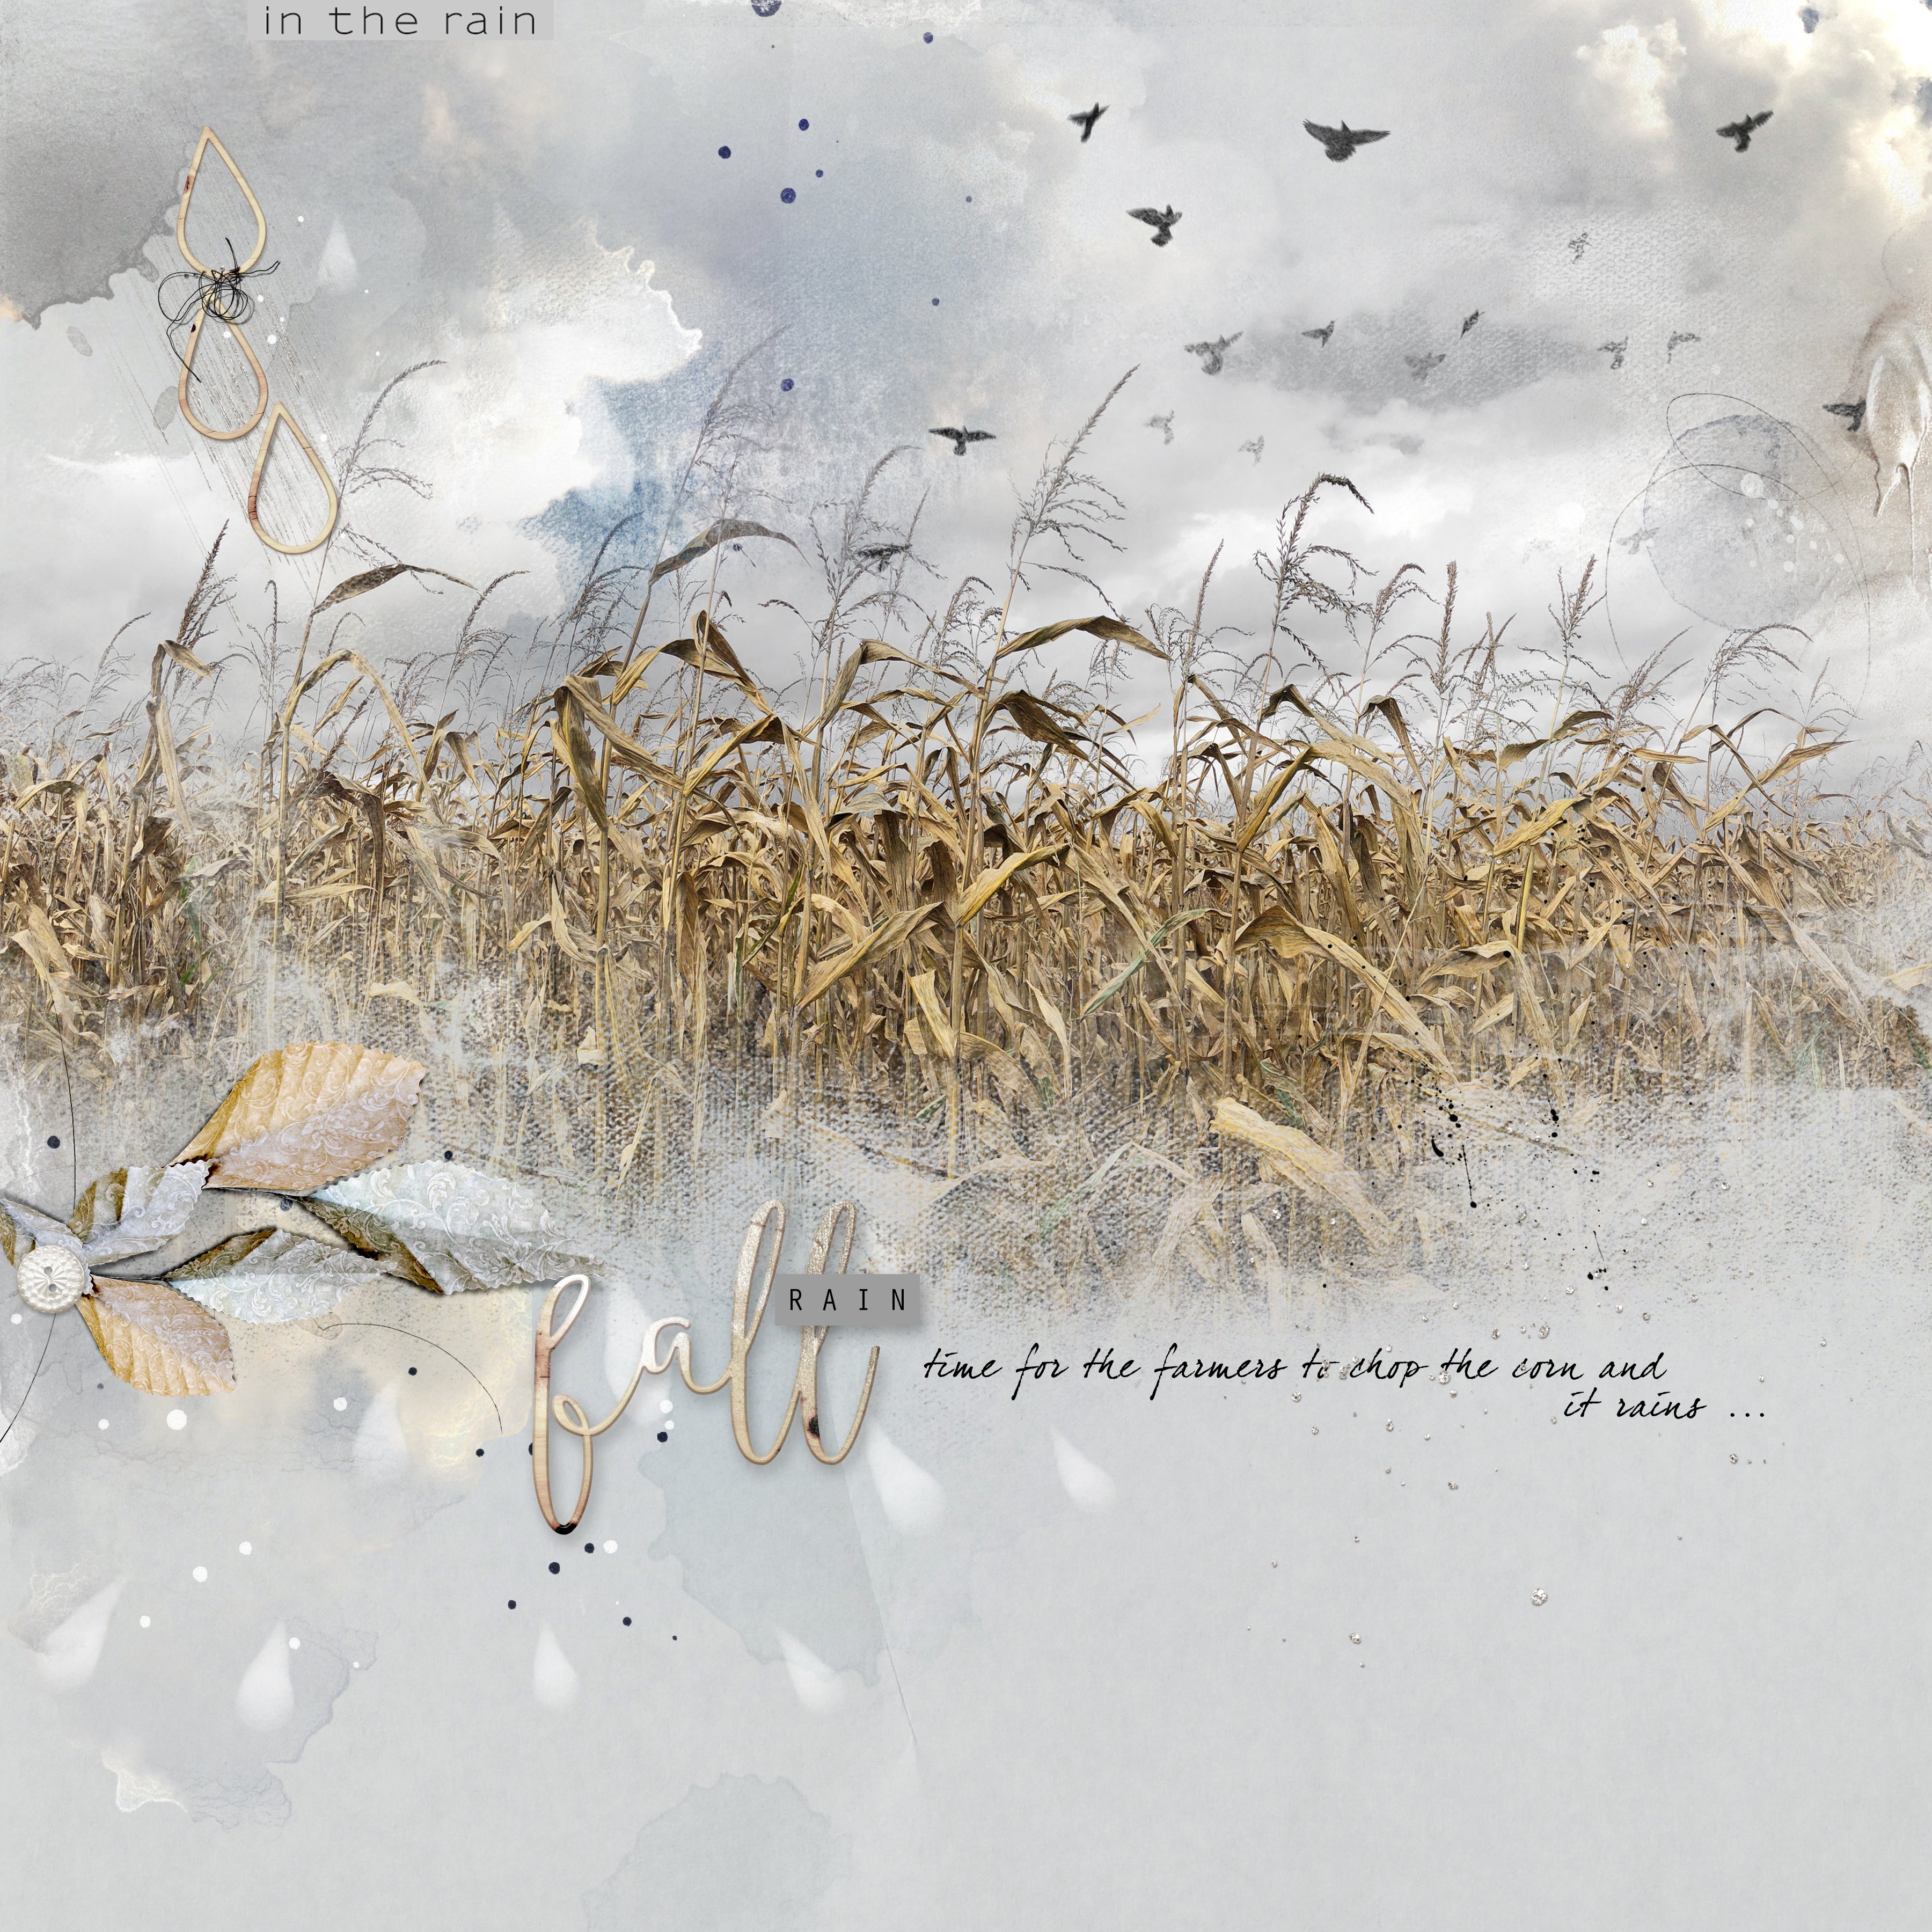
We’ve had a lot of rain this fall which means that the fields are soggy and wet, making it difficult for the farmers to shell the corn.
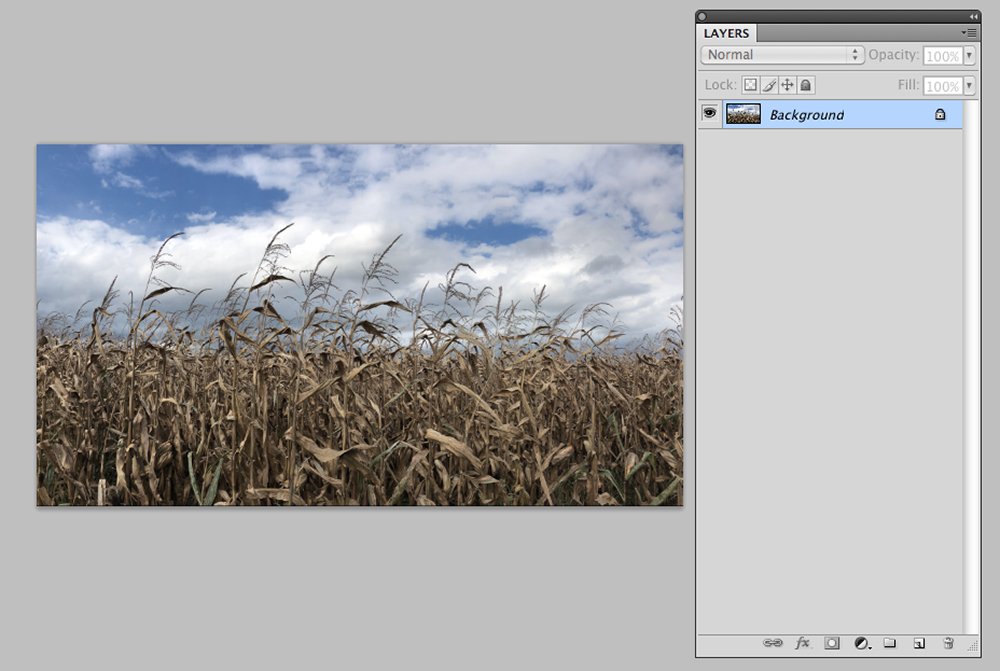
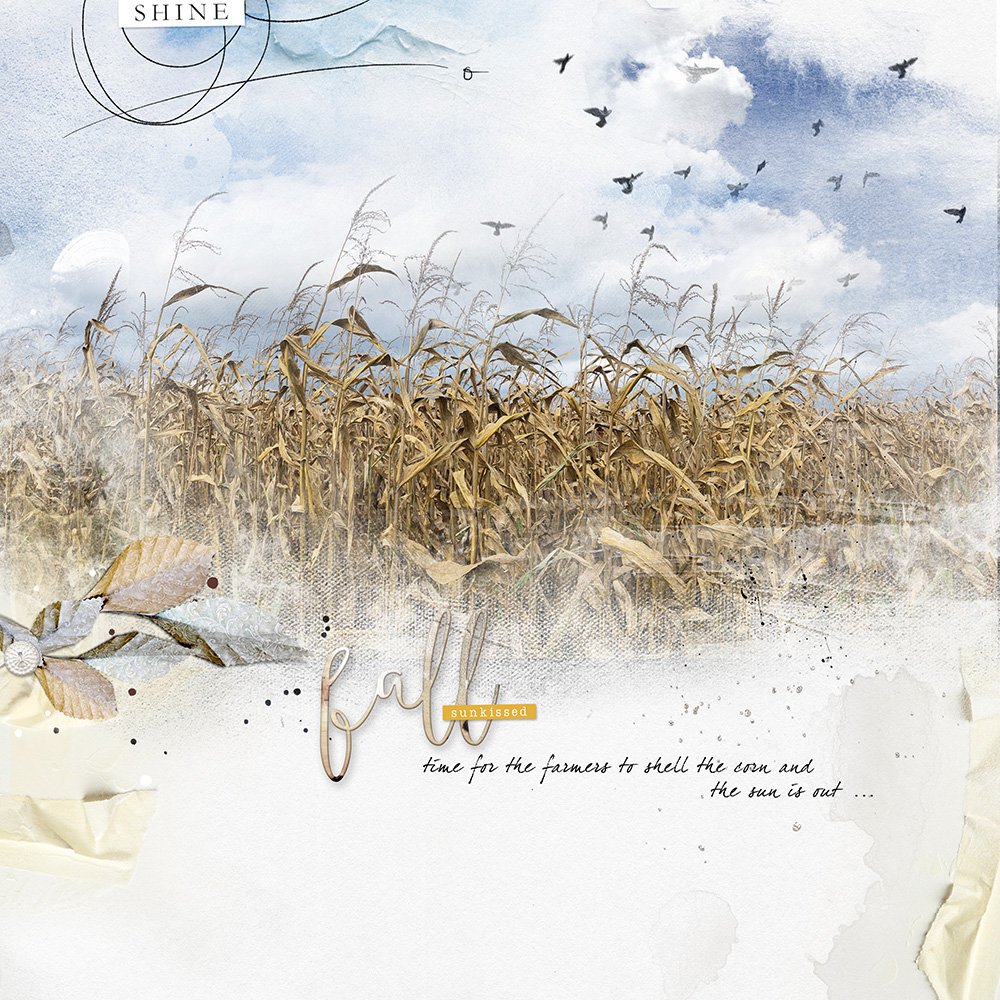
The one day that I took a photo of the corn field, the sky cleared for 30 minutes, showing a vibrant blue.
I wanted this page to reflect the gray, rainy days that we’ve been experiencing, so I let Photoshop do it’s magic.
Below is the original photo.
Hue/Saturation Adjustment Tool
The Hue/Saturation (Cmd/Ctrl U) is a very powerful tool which enabled me to make the following color adjustments.
- Use the 3 sliders to adjust Color and Contrast in your photos.
- Adjust the Hue to change the color and resolve color cast.
- Increase/Decrease Saturation to make colors more/less vibrant.
- Play with the Lightness to improve the image’s tonality, or to completely remove color.
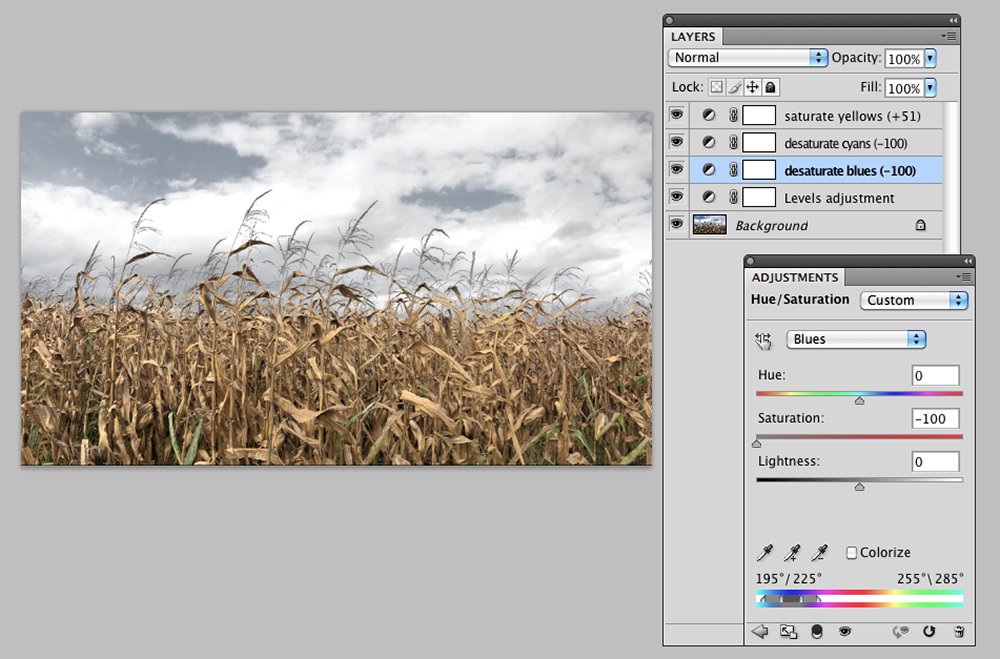
Specific Hue/Saturation Color Adjustments:
- In this photo, the blue sky was altered by selecting Blues from the Master drop down menu, and the slider was moved to the left (-100).
- Repeat this process with Cyans to desaturate the Hue.
- Next select the Yellows and move the slider to the right (+51) to increase the color richness of the cornstalks.
1. Create a Foundation.
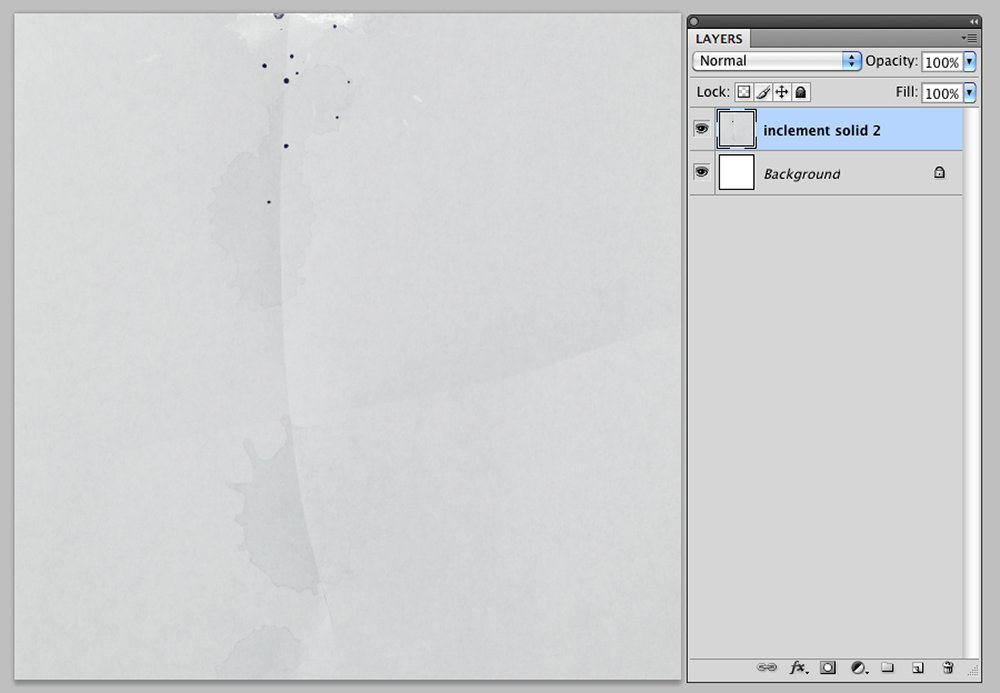
Establish a new page and select a background digital paper for your design.
- Create a New 12 x 12 Layout at 300 dpi. (File> New)
- Open and drag your paper onto the layout using the Move Tool from the Tools Panel.
- Solid paper 2 from Artplay Palette Inclement was used for this page.
2. Create a Clipping Mask.
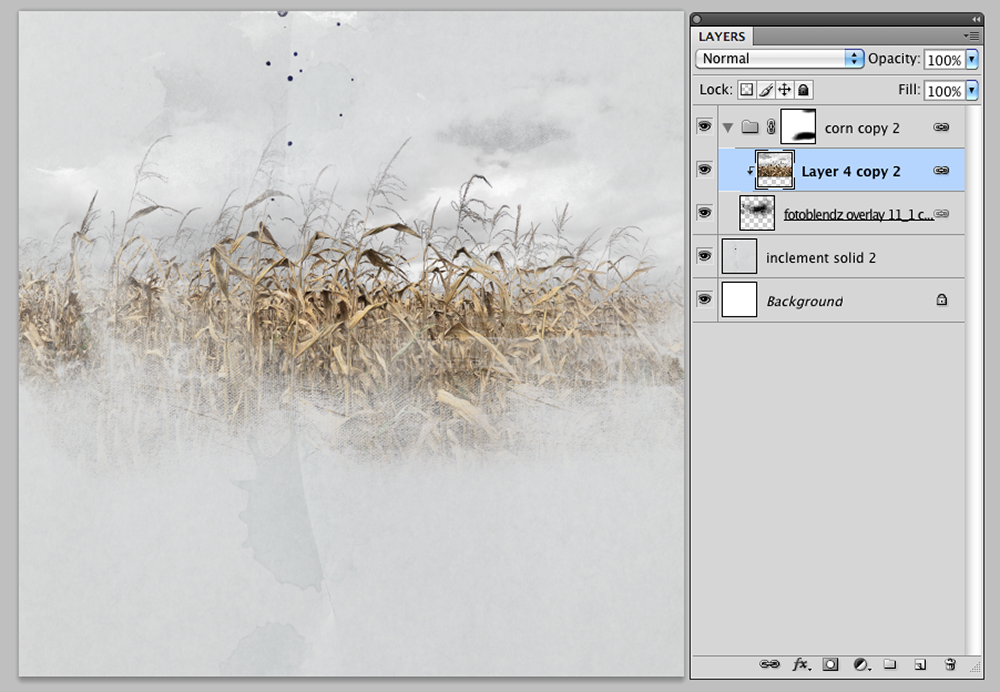
Select a FotoBlendz Clipping Mask to blend your photo.
- Position the FotoBlendz Clipping Mask on your layout using the Move Tool from the Tools Panel.
- Place the photo layer directly above the mask layer in the Layers Panel.
- Clip the photo to a FotoBlendz Clipping Mask using the Clipping Mask Function in Adobe Photoshop or Elements
- Got to Layer> Create Clipping Mask (CMD/CTRL + G)
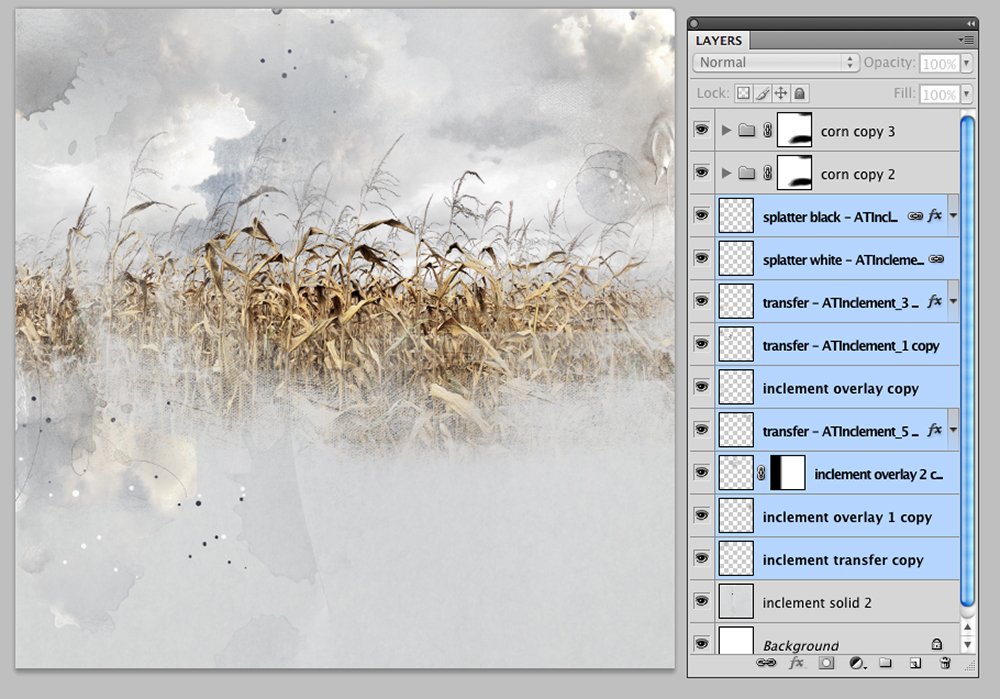
- Fotoblendz Overlays 11_1 to provide the best horizontal orientation.
3. Embellish with Transfers.
Use Transfers and Overlays to add visual interest to your designs.
- Transfers can be found in ArtPlay Palettes in single layer .png format.
- Multi-layer variations in .psd format offer maximum customization in ArtsyTransfers.
- Use Transfers and Overlays to add color, texture and dimension to your digital artistry and scrapbooking pages.
- Several of the layers from ArtsyTransfers Inclement and transfers from Artplay Palette Inclement were layered beneath the photo layer in the Layers Panel.
4. Additional Artistry
Add Brushes, WordArt and Embellishments.
- Finish the page by adding WordArt, Textures, Stitching, Artsy Transfers and Brushes from the [aalogo] store.
- Have fun and enjoy the adventure of creating!
Just for fun this is what the page would look like if I had kept the sky blue.
Post your digital artistry and artsy digital scrapbooking pages in The Gallery, and if you liked this The Power of Color Adjustments Tutorial, please consider sharing it using the social media buttons below.