
Today, we are sharing this Extend a Photo with Photoshop Brushes tutorial by the talented Adryane.
This tutorial may be followed in BOTH Adobe Photoshop and Elements.
Extend a Photo with Photoshop Brushes
Introduction
Use Photoshop BrushSets to extend the subject matter of a blended photo.
- Learn to mask an image using a FotoBlendz clipping mask.
- Identify subject areas of a blended photo that could be extended.
- Colorize Photoshop Brushes in your digital scrapbooking and photo artistry layouts.
1. Establish Layout Foundation
Choose a foundation for your digital scrapbooking design to support your photo.
- Go to File> New and create a New Layout at 12 x 12 inches, 300 PPI.
- Choose a Solid Paper for your photo artistry layout background.
- Open and move the Solid Paper onto your design using the Move Tool from the Tools Panel.
Note:
- When choosing a background, consider how it will interact with your photo and brushwork.
- For this page a solid, slightly textured white background was chosen to emphasize the snow in the photo and the brushwork done with the trees.
2. Blend Your Photo
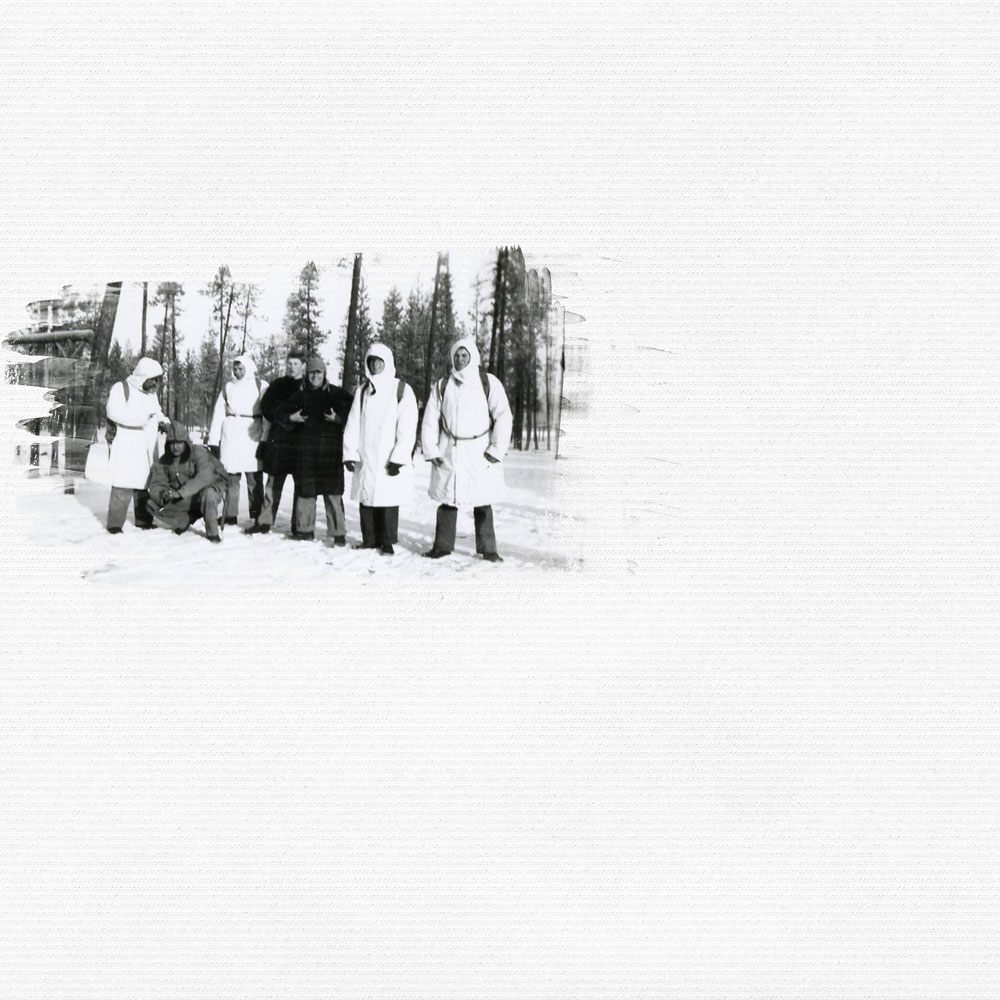
Choose or create a clipping mask to blend your photo.
- Choose a FotoBlendz clipping mask.
- You can also design your own custom clipping mask.
- Open and move the photo onto your layout so that it resides directly above the clipping mask layer in the Layers Panel.
- Clip the image to the mask Layer> Create Clipping Mask.
Tip. See Modify Clipping Masks and Design Custom Masks for EVERYTHING you need to know about clipping mask blending.
3. Extend the Photo
Use brushes to extended your blended photo.
- Identify a Subject in your photo that you would like to extend.
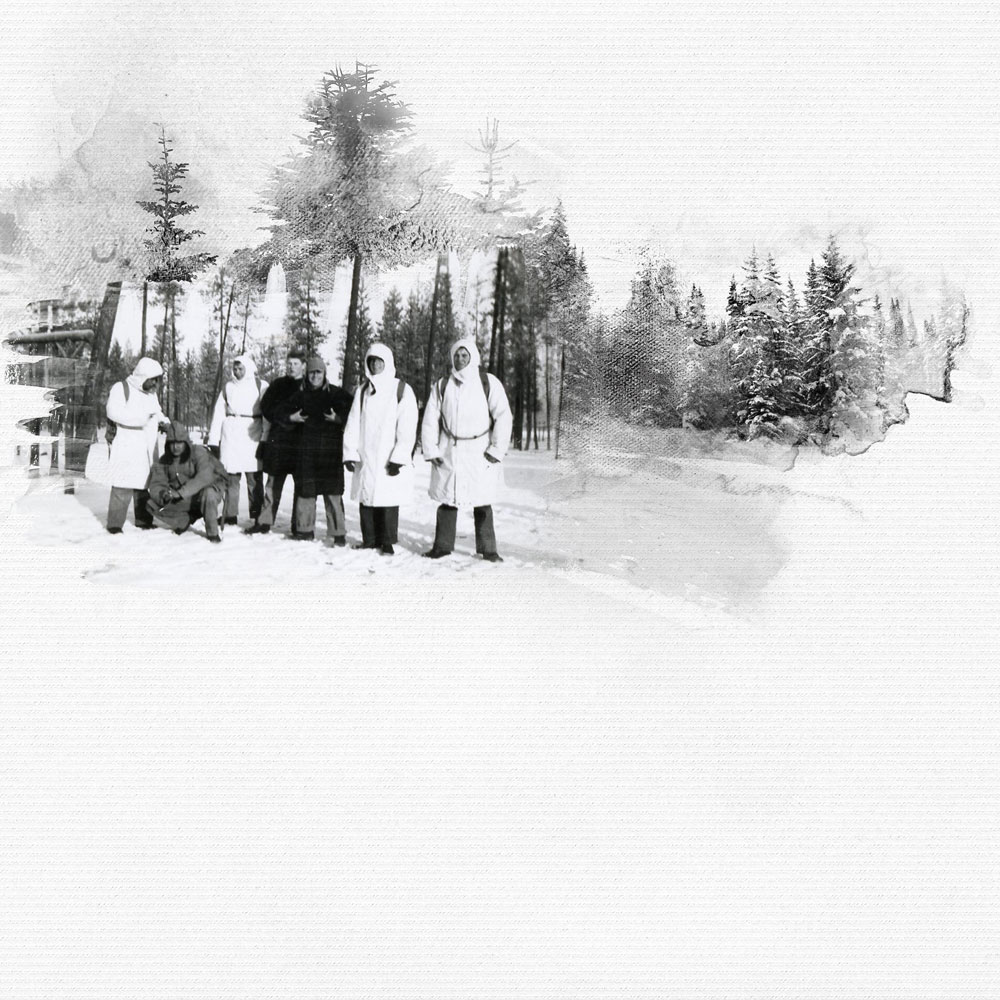
- In this layout, Trees No. 3 BrushSet were applied to extend the trees in the masked image.
- Stamp your brushes on NEW LAYERS beneath the photo layer in the Layers Panel.
- The brush imprints were ALIGNED with the trunks of trees at the top of the photo.
- Notice how the trees on the left add height and the trees on the right extend the photo from mid-page to the right edge of the page.
Note:
- The brushes can be stamped in ANY color that works with your design.
- For this project, the trees were stamped in black to coordinate with the desaturated photo.
 4. Embellish with Color
Use FotoGlows to colorize a Black and White photo.
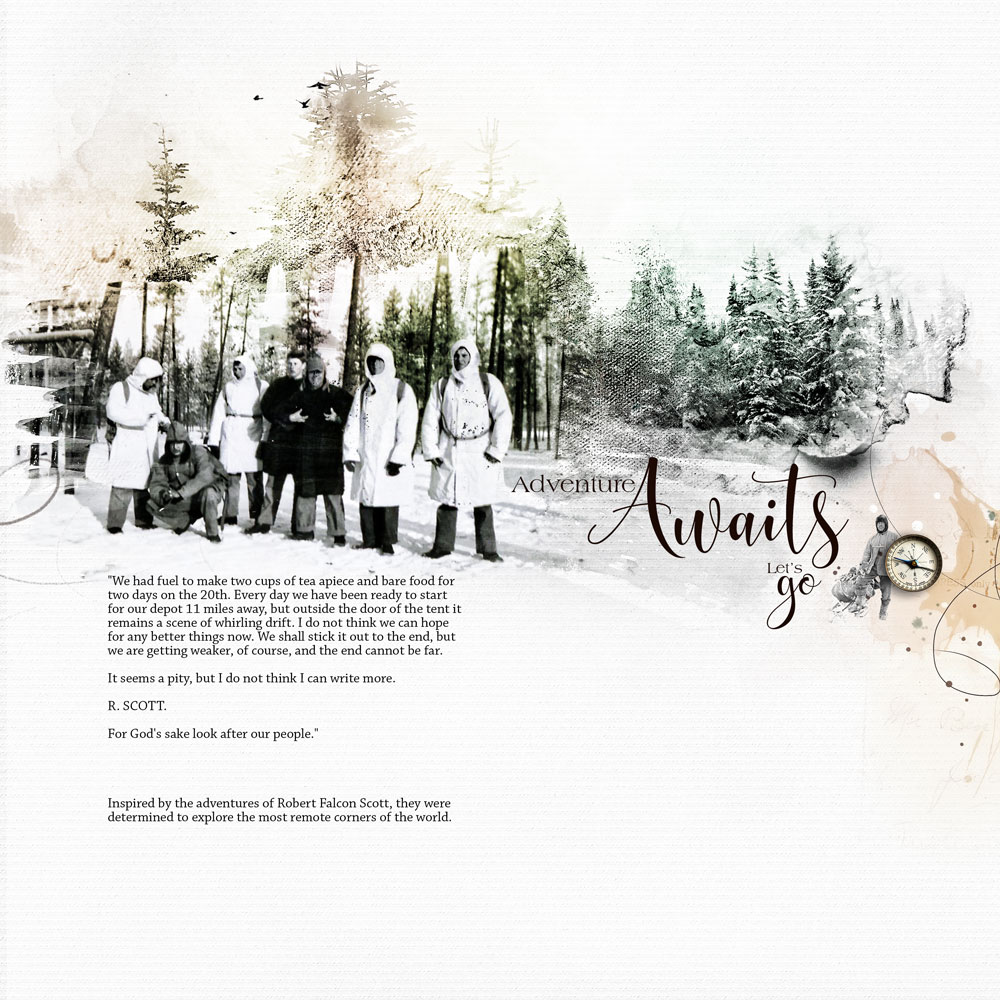
- Layer FotoGlows over the brush layers to add COLOR to your digital scrapbooking layout design.
- Apply different Blending Modes from the top of the Layers Panel to accentuate the DEPTH and VALUE of color.
- This project uses multiple elements from StainedGlows No. 1.
- An Overlay Blending Mode was applied to colorize the augmented tree line.
Note. Find this style of digital element in FotoGlows and MultiMedia categories.
 DigitalART Supplies
The supply list for this photo artistry layout design can be found here.
Summary
Use Photoshop Brushes to embellish and elevate your photo artistry and digital scrapbooking composites.
- Mask your image on a layout foundation as preferred.
- Use brushes that support the THEME to extend the image.
- Colorize your brushwork using FotoGlows.