
Today, Creative Team Member, Margo, is sharing Color Blocking with Overlays.
Follow this tutorial in Adobe Photoshop.
Color Blocking with Overlays
Digital scrapbooking is an excellent tool for experimenting with different processes for creating art.
We can use the creative process to challenge ourselves to leave our comfort zone. By taking an idea from start to finish, we learn whether our process is one we want to keep and expand or whether it is one to leave behind. Either way, we need to trust our inner creative and be ready to experiment again with the next idea.
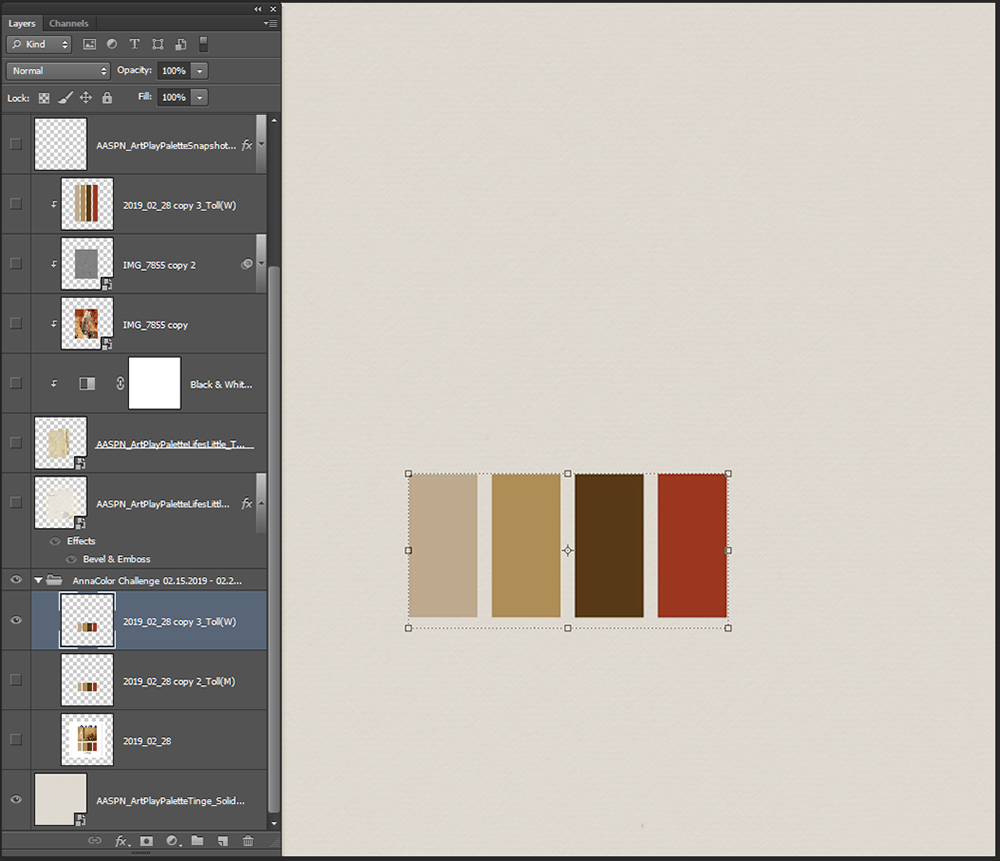
Create a Foundation
- Create a New 12×12 300 dpi document. Open and Drag Solid Paper No. 3 from ArtPlay Palette Tinge.
- Open & drag your color palette image above your paper. This color palette image is from the AnnaColor Challenge (02.15.2019-02.28.2019).
- Use the Rectangular Marquee Tool (M) to eliminated everything but the color bands. Select the Magic Wand Tool (W) click inside the remaining white areas between the color bands. Marching ants will appear around the white areas. Press Delete to remove them, leaving only the color bands.
- Turn off the visibility of the original color palette layer and the color band layer with the white areas.
Note: I grouped all of the color challenge layers together.
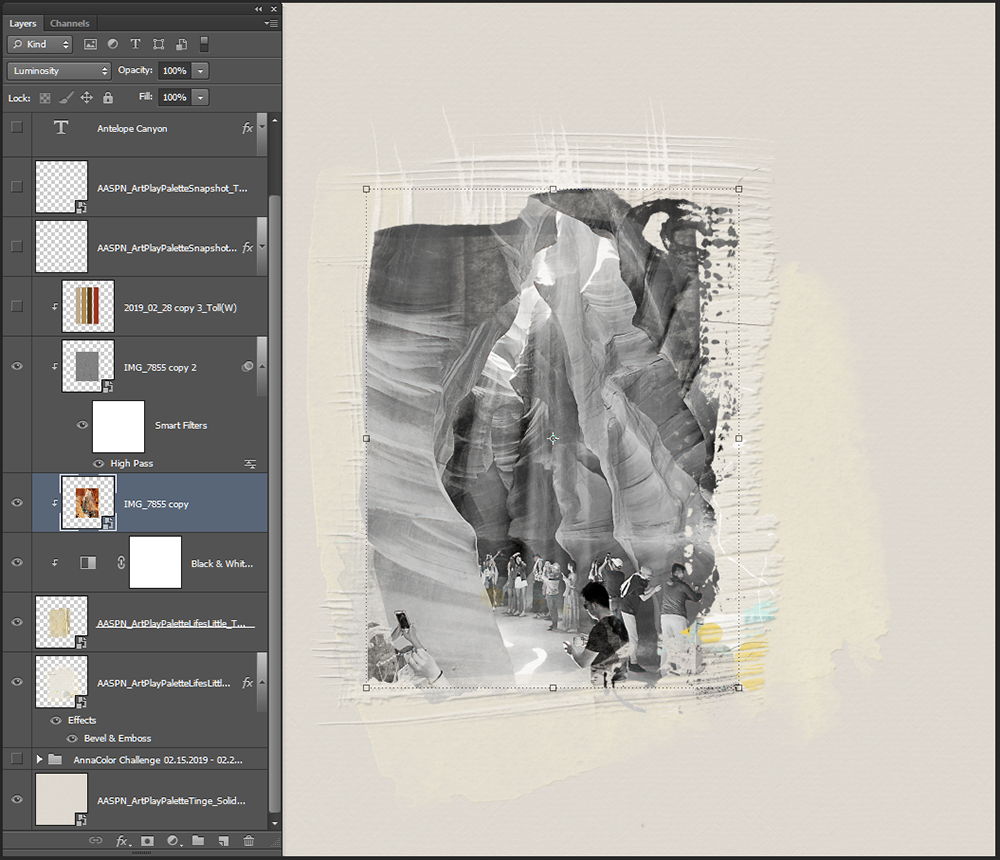
Mask Your Image
You can use nearly anything to mask your image.
- Add Transfer No.1 from ArtPlay Palette Lifes Little and apply the Luminosity Blending Mode.
- Clip your photo to the transfer (Ctrl + Alt + G) to take on the same blending mode as the mask (turning the photo from color to black and white).
- Add a black and white adjustment layer (Adjustment Layer > Black & White) to Transfer No.1 to control the contrast in the image.
- Sharpen the photo. (Photo copy; Filter> Other> High Pass 4.5; Blending mode for the layer > Overlay).
Note: I put Transfer No.11 from ArtPlay Palette Lifes Little on the layer under Transfer No.1 to add shape and texture to the masked image. I added a Bevel & Emboss Layer Style.
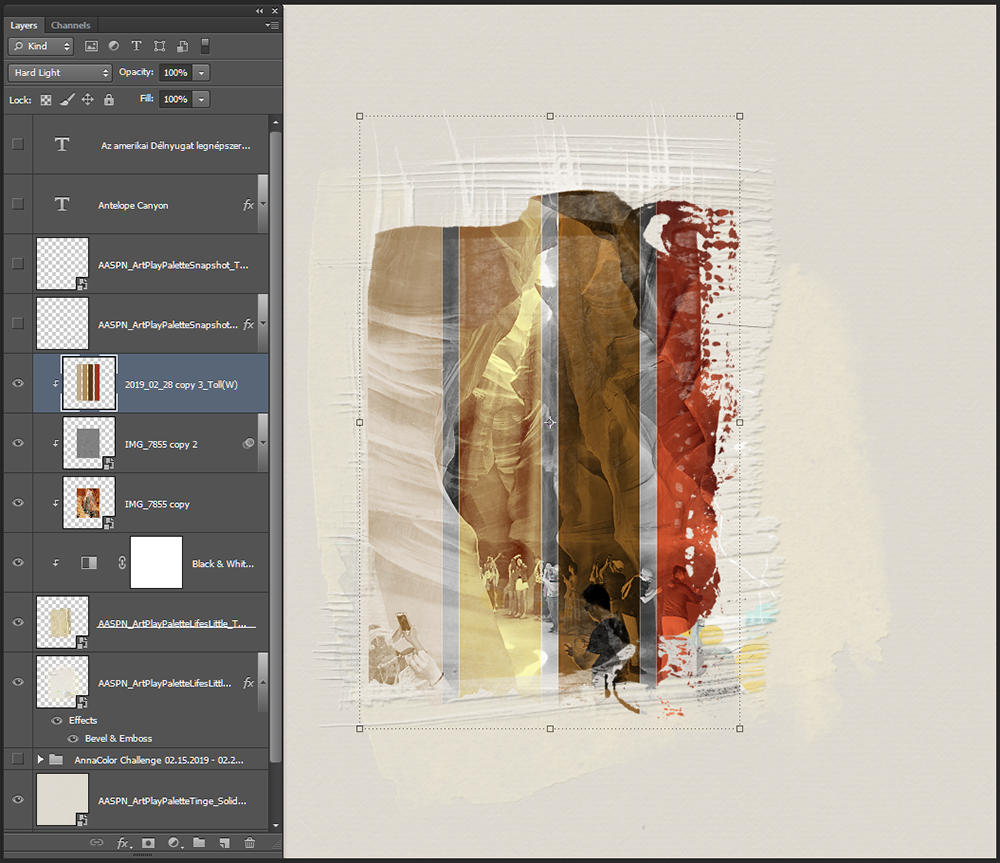
Implementing the Idea
- Drag the color challenge color band to the layer above the adjustment and photo layer and clip it to the stack over Transfer No. 1.
- Set the Blending Mode of the color bands to Hard Light so the photo is visible through the different color bands.
Note: The layer above the photo layer and below the color bands is a sharpening layer used to adjust the details of the people in the photo.
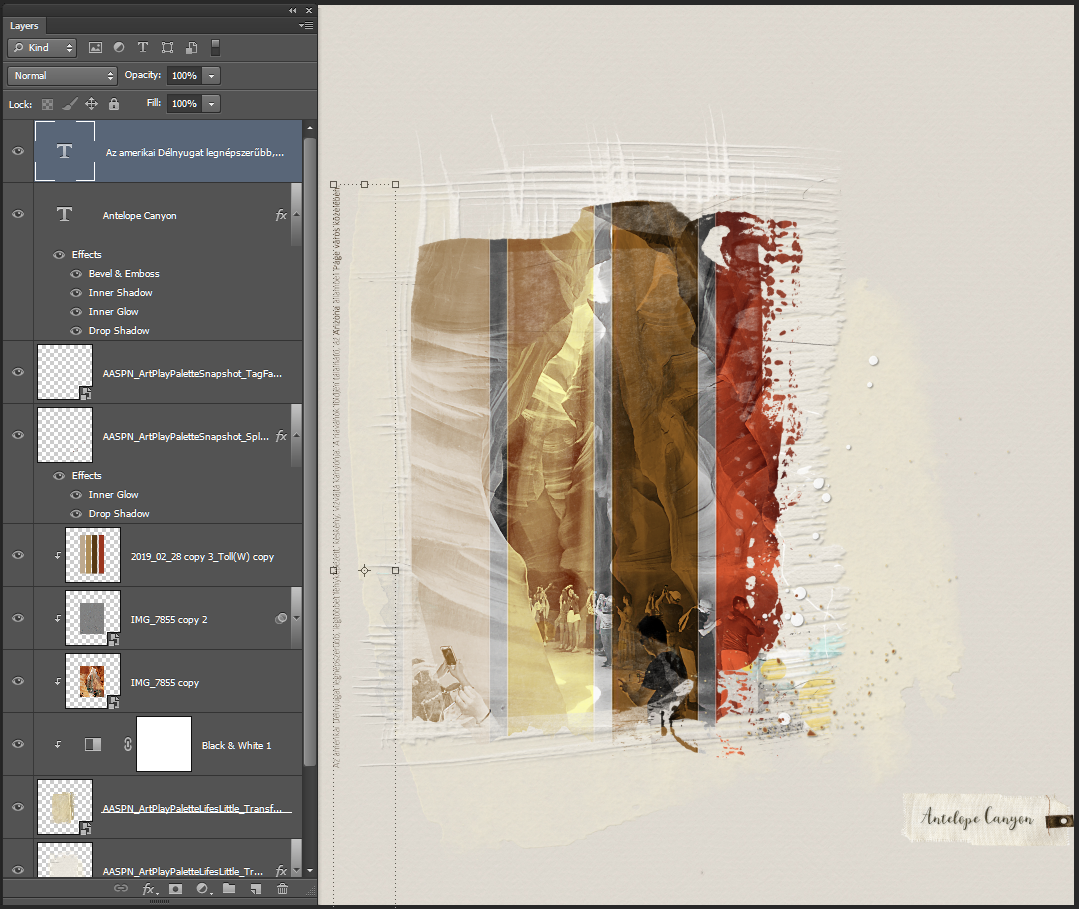
Embellish and add Text/Journaling
- Embellish with a Splatter from ArtPlay Palette SnapShot.
- Use the fabric tag from ArtPlay Palette SnapShot for the Title. Add an Inner Glow and Drop Shadow (Layer – Layer Styles).
- Complete your layout with journaling.
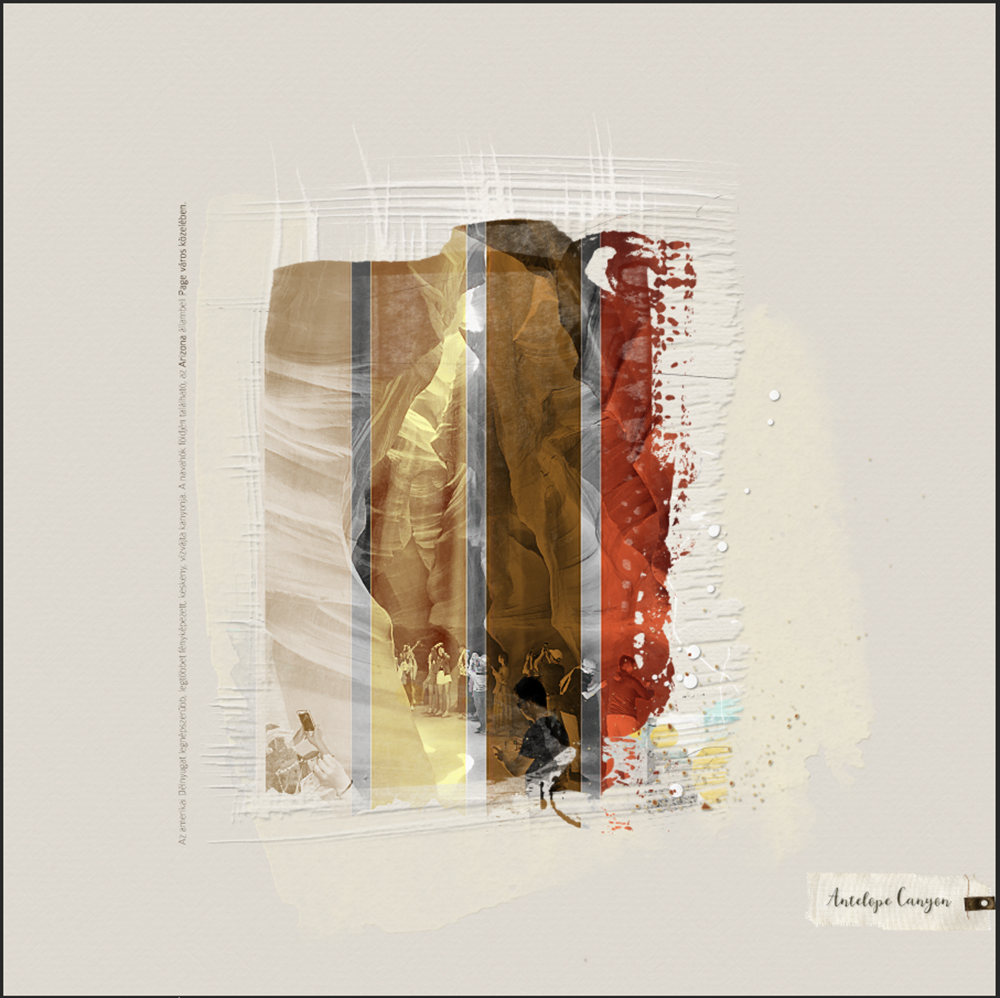
Get creative and make it your own, try using the newest AnnaColor Challenge Palette.
Post your digital artistry and artsy digital scrapbooking pages in The Gallery, and if you liked this Color Blocking with Overlays, please consider sharing it using the social media buttons below.